

Add team members, assign roles, and manage access to your Context7 dashboard from the members tab.
Creating a Teamspace#
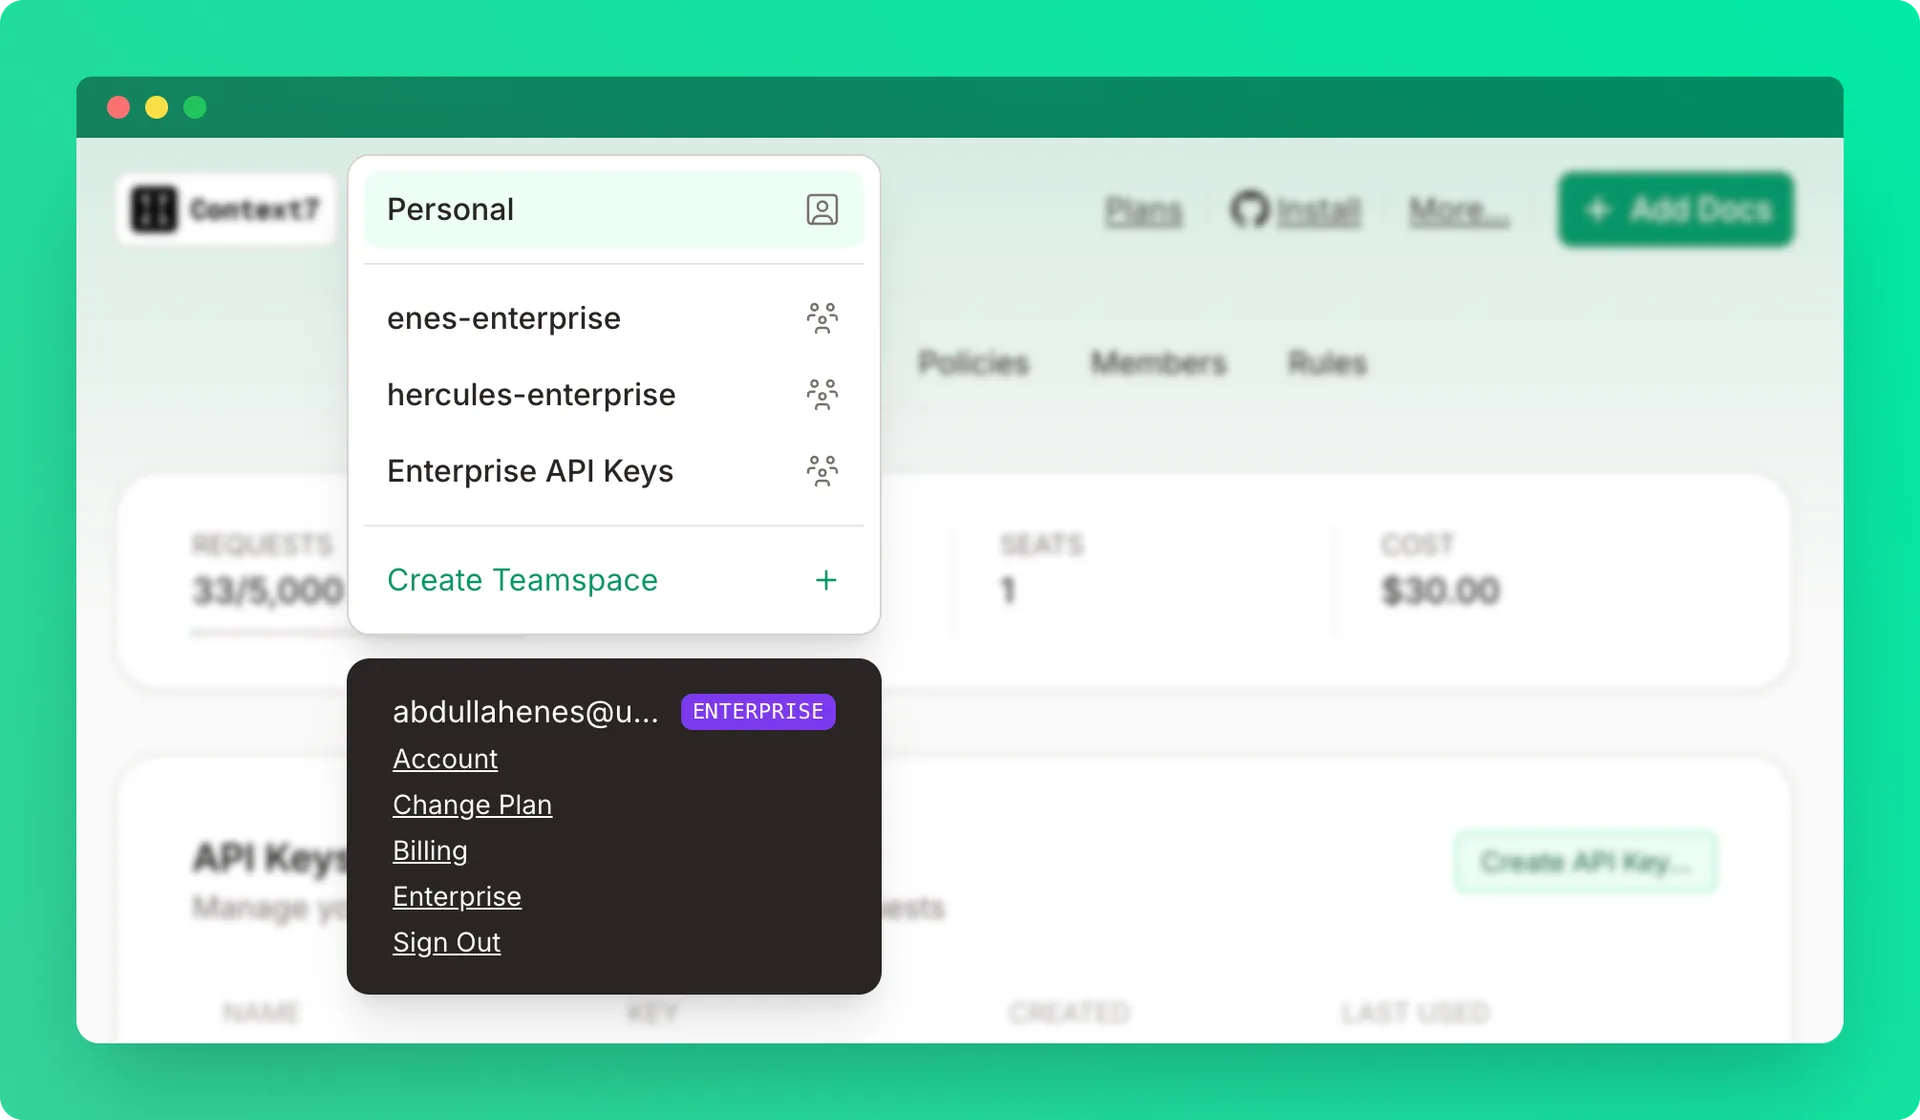
Open the teamspace menu
Click Create a teamspace from the top-left dropdown.
Name the teamspace
Enter a teamspace name.
Note
You must have a Pro or Enterprise plan to create a teamspace. Only the teamspace owner needs a paid plan — invited members don't need their own subscription. Once added, all members automatically benefit from the team's Pro or Enterprise limits.
Roles#
| Permission | Owner | Admin | Developer |
|---|---|---|---|
| View dashboard | ✓ | ✓ | ✓ |
| Create API keys | ✓ | ✓ | ✓ |
| Manage team members | ✓ | ✓ | ✗ |
| Manage library access | ✓ | ✓ | ✗ |
| Manage private sources | ✓ | ✓ | ✗ |
| Rename teamspace | ✓ | ✗ | ✗ |
| Delete teamspace | ✓ | ✗ | ✗ |
Inviting Members#
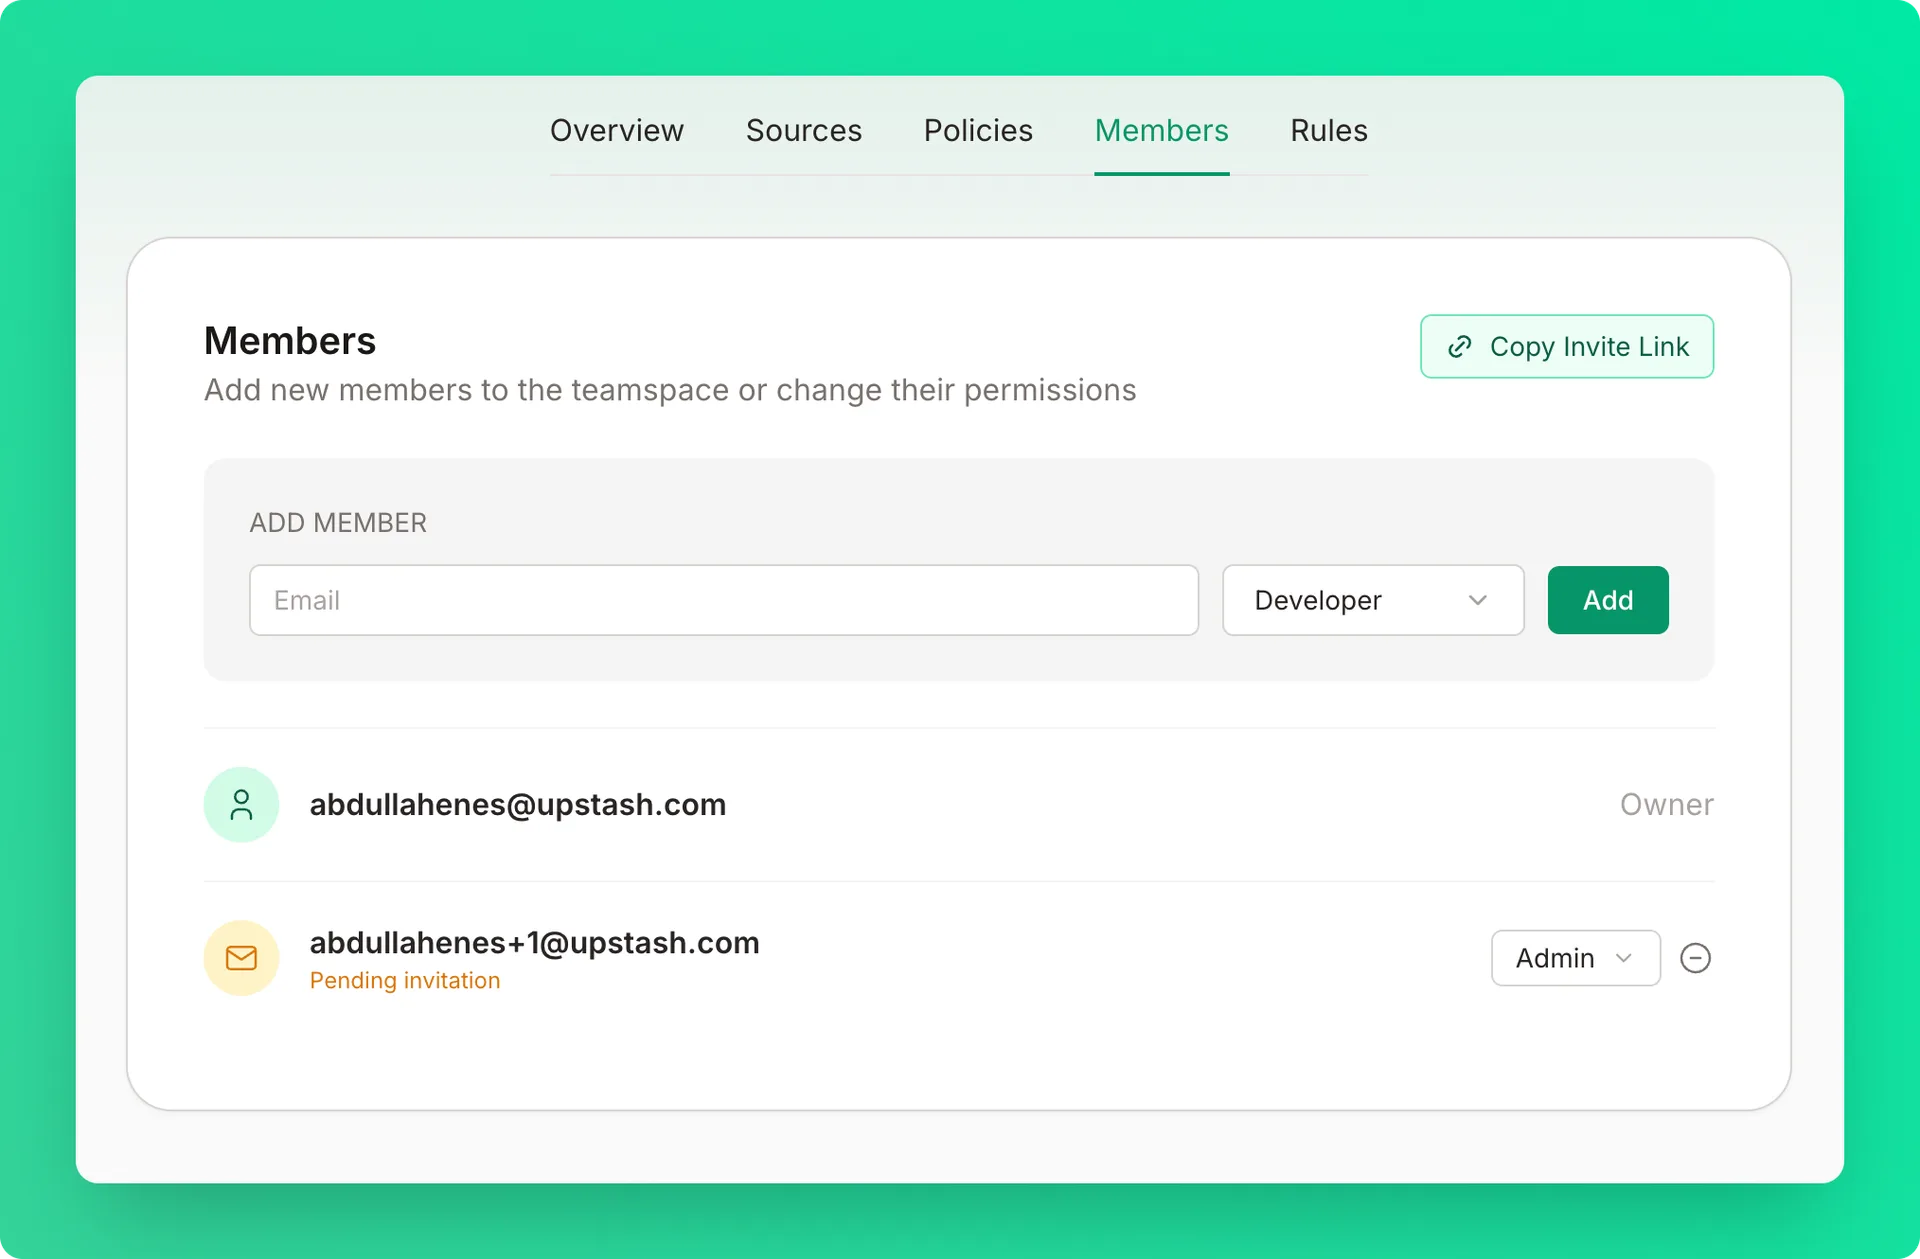
Enter the member's email
Enter the email address of the person you want to invite.
Select a role
Choose Developer or Admin.
Send the invite
Click Add. The member receives an invitation email and is automatically added to the teamspace once they sign in.
Note
The invitation will remain pending until they sign in.
Teamspace Settings#
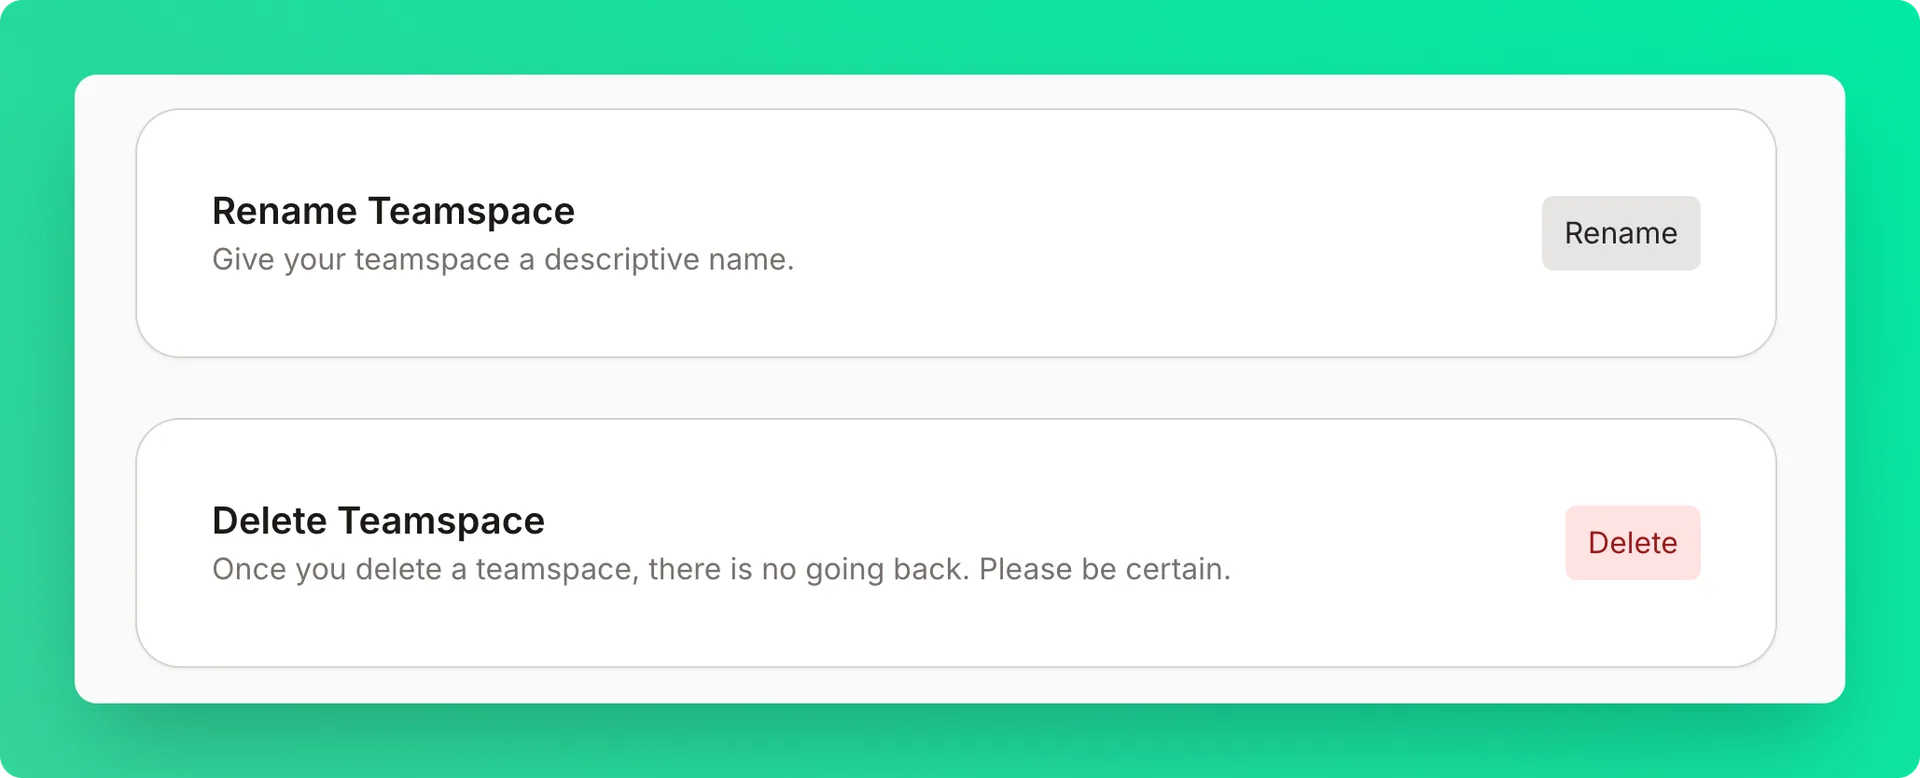
If you are the owner of the teamspace, you can rename or delete the teamspace under the overview tab.
Warning
Deleting a teamspace is permanent. All members lose access immediately.
Limits#
| Plan | Max Members |
|---|---|
| Free | 1 (personal only) |
| Pro | 10 |
| Enterprise | Unlimited |